Stucco, a timeless and durable exterior finish, adds a distinct charm and protective layer to countless homes. Its versatile texture and enduring nature make it a popular choice for homeowners seeking both aesthetics and resilience.
However, like any exterior material, stucco is susceptible to wear and tear, and over time, it may require some TLC.
Understanding the common issues, knowing when to roll up your sleeves for a DIY fix, and recognizing when to call in a professional are key to maintaining your home’s curb appeal and structural integrity.
This ultimate guide to stucco repair will walk you through everything you need to know to restore your home’s exterior like a pro.
Common Stucco Problems: What to Look For
Stucco, while robust, isn’t entirely impervious to the elements or the natural settling of a house. Identifying the root cause of the damage is the first step in effective stucco repair. Here are some of the most frequently encountered problems:
Cracks: These are perhaps the most common stucco issues.
Hairline cracks: Often a natural occurrence due to minor settling or temperature fluctuations, these are usually superficial.
Spiderweb cracks: These can also be cosmetic but might indicate underlying stress.
Diagonal cracks: Particularly around windows and doors, these often signal structural movement or stress points.
Large or deep cracks: Cracks wider than 1/8 inch or those that penetrate the stucco’s full thickness are more serious and can indicate significant structural shifts or water intrusion.
Water Damage: Stucco is designed to shed water, but cracks, improper flashing, or damaged caulking can allow moisture to penetrate, leading to:
Staining and discoloration: Brown, black, or rust-colored streaks on the stucco can indicate water seeping through or behind the surface.
Efflorescence: White, powdery deposits on the surface are a clear sign of water carrying salts to the surface as it evaporates.
Mold or mildew growth: Dark patches, especially in shaded areas, point to excessive moisture and potential mold issues within or behind the stucco.
Bulging or blistering: This is a severe sign of trapped moisture, which can cause the stucco to separate from the underlying lath or wall.
Crumbling or Spalling: When stucco becomes brittle, soft, or starts to flake off, it’s often a result of prolonged water damage, age, or improper mixing during installation. This compromises the protective barrier.
Impact Damage: Dents, chips, or holes can occur from direct impacts, such as hailstones, thrown objects, or even landscaping equipment. These damages not only mar the appearance but also create entry points for moisture.
Step-by-Step DIY Repair Tips: Tackling Minor Issues
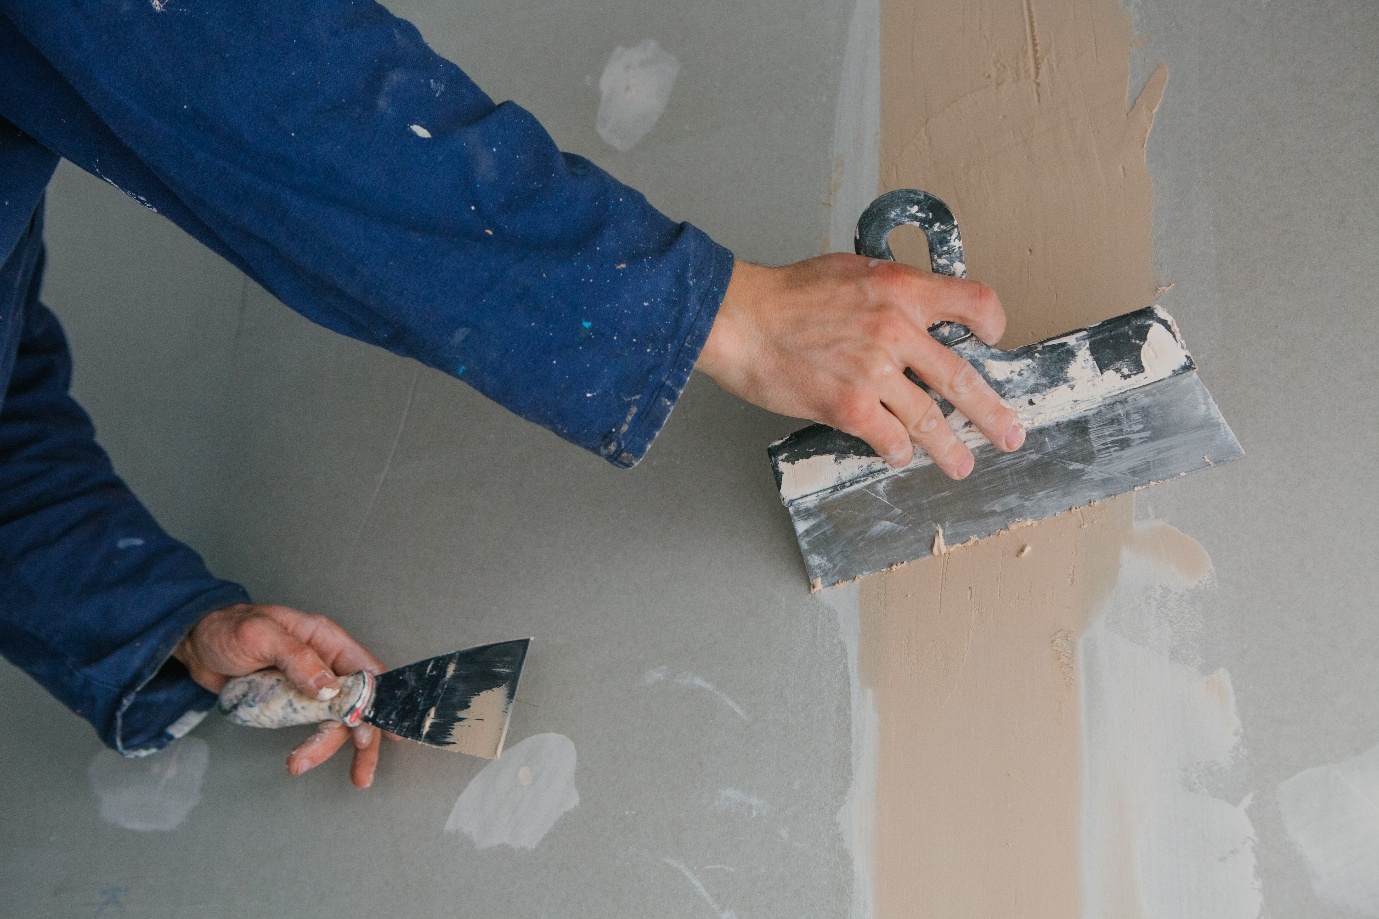
For small, non-structural issues like hairline cracks or minor chips, a DIY approach to stucco repair can save you time and money.
Clean the Area: Before any repair, the area must be clean and free of dust, dirt, or loose debris. A wire brush and a hose work well for this. For tougher stains like mold or mildew, a diluted bleach solution (1 part bleach to 10 parts water) can be effective. Rinse thoroughly.
Prepare the Surface: For cracks, widen them slightly with a V-groove tool or screwdriver to allow the repair material to penetrate effectively. For larger chips or holes, carefully remove any loose stucco with a hammer and chisel until you reach solid material.
Check the Lath: If you’ve removed a significant piece of stucco and exposed the underlying lath (metal mesh), ensure it’s intact and not rusted. If damaged, you’ll need to cut out the damaged section and replace it with a new piece, securing it with galvanized nails or screws. You may also need to apply builder’s paper over exposed wood sheathing.
Mix the Stucco Repair Material: Purchase a pre-mixed stucco patching compound or a stucco mix that you add water to. Follow the manufacturer’s instructions carefully for consistency. For small cracks, a high-quality acrylic caulk designed for masonry can also work.
Apply the Scratch Coat (for larger repairs): For deeper repairs where the lath is exposed, apply a “scratch coat” of stucco mix approximately 1/4 inch thick. Press it firmly into the lathe. Score the wet surface horizontally with a notched trowel to create a rough texture for the next layer to adhere to. Let it cure according to the product’s instructions (often 24-48 hours), keeping it moist with a mist of water if the weather is hot and dry.
Apply the Brown Coat (for larger repairs): Once the scratch coat has cured, apply a “brown coat” of stucco, about 3/8 inch thick, to build up the thickness and create a level surface. Smooth it with a trowel, ensuring it’s slightly below the level of the existing stucco. Allow this coat to cure.
Apply the Finish Coat: This is where you match the texture of your existing stucco. Apply a thin, even layer of the finish coat. Use a sponge float, trowel, or even a brush to replicate the original texture. Practice on a scrap piece of plywood first if you’re unsure. Blend the edges seamlessly with the surrounding stucco.
Cure and Seal: Allow the repaired area to cure completely, which can take several days to a week, depending on the product and weather. Keep it moist during this time. Once fully cured, consider applying a compatible masonry sealer or elastomeric paint, especially if your existing stucco is painted. This will help protect the stucco repair and ensure color consistency.
Pro Tip: When dealing with interior walls, especially those behind stucco issues, remember that drywall patching and finishing might be necessary if moisture has permeated. Addressing the exterior first is paramount, but don’t overlook potential interior damage.
When to Call a Professional: Knowing Your Limits
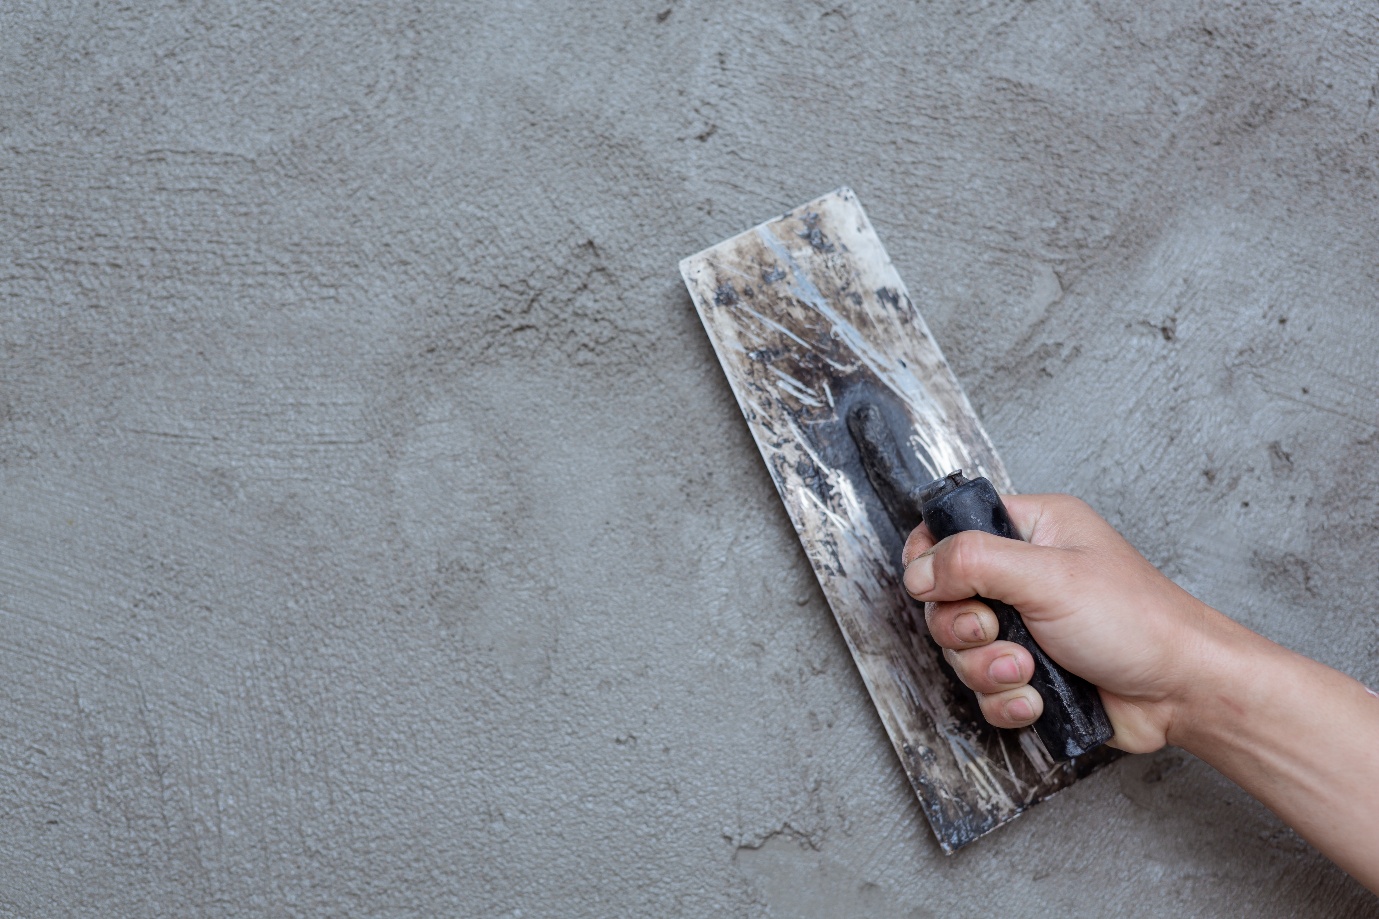
While DIY stucco repair is feasible for minor issues, certain situations warrant calling in the experts. Attempting complex repairs without the proper knowledge or tools can lead to further damage and more costly fixes down the line.
Large, deep, or extensive cracking: Cracks that run across large sections of your home, are wider than a quarter-inch, or indicate structural shifting.
Significant water damage: If you observe widespread staining, bulging, or crumbling, moisture has likely penetrated deep into the wall system, potentially causing rot or mold.
Soft or spongy areas: These are indicators of significant moisture behind the stucco, which could be affecting the underlying sheathing and framing.
Repeated issues: If you’ve tried DIY fixes and the problems keep recurring, there’s likely a deeper underlying issue that only a professional can diagnose and repair.
Damage to flashing around windows and doors: Improper flashing is a common cause of water intrusion, and its repair requires specialized knowledge to ensure proper water diversion.
A professional stucco repair contractor has the experience, specialized equipment, and understanding of building codes to correctly identify the problem and execute a durable repair that stands the test of time.
Need Professional Help Beyond Stucco?
While mastering stucco repair is a rewarding endeavor, some home improvement projects are best left to the experts. If you’re looking to refresh your home’s interior with a stunning new look, or if your walls require meticulous drywall patching and finishing before a fresh coat of paint, don’t hesitate to seek out skilled professionals.
For exceptional interior design and interior painting services, look no further than Silver Star Painting. We boast a team of the top painting contractors and stucco repair experts in Orange County and Riverside County, ensuring a flawless finish and a transformation that exceeds your expectations.
Reach out to us today to bring your vision to life!

