Winter can be a challenging time for any outdoor project, especially painting. The colder temperatures and increased moisture can wreak havoc on your paint job if you’re not well-prepared. However, with the right strategies and precautions, you can tackle winter painting projects successfully.
Our exterior painters will provide you with essential tips and tricks to ensure your winter painting projects result in vibrant, long-lasting finishes.
1. Choose the Right Paint
In winter, it’s crucial to select the right type of paint. Opt for high-quality latex paints that are specifically formulated for cold weather. These paints are designed to perform well in low temperatures and offer excellent adhesion, ensuring your paint job lasts.
2. Check the Weather Forecast
Keep a close eye on the weather forecast before starting your project. Pick a day when the temperatures are above the manufacturer’s recommended minimum temperature for painting. It’s also essential to ensure the weather will remain dry throughout the drying period of your paint.
3. Prepare the Surface
Proper surface preparation is even more critical in cold weather. Clean the surface thoroughly and make any necessary repairs. Prime the surface to provide a smooth and even canvas for your paint.
4. Use the Right Tools
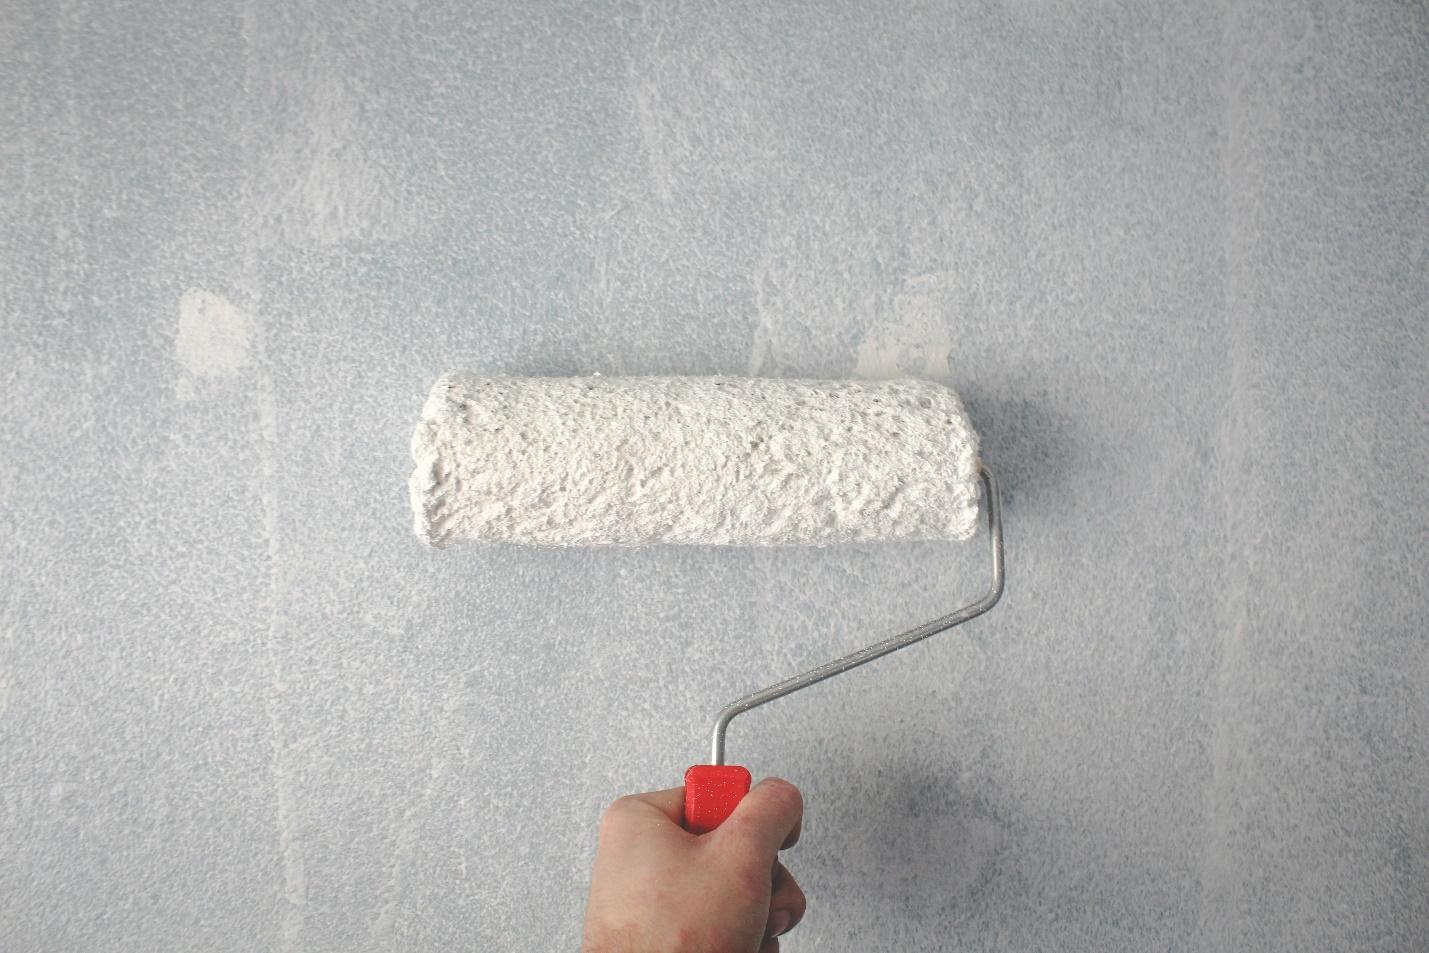
Invest in high-quality brushes and rollers for your winter painting project. Cheap or worn-out tools can lead to uneven application and subpar results. Quality tools will help you achieve a professional finish.
5. Work in Sections
Painting in smaller sections allows you to focus on one area at a time, ensuring you can complete it before the paint starts drying. This is especially important in colder weather when paint tends to dry more slowly.

6. Paint During Daylight Hours
Daylight provides better visibility, making it easier to spot imperfections and ensure a smooth finish. Plus, painting during the daytime allows the paint to dry before temperatures drop in the evening.
7. Keep Paint Warm
Storing your paint indoors before you start painting is a wise move. Cold paint can be challenging to work with and may not adhere properly to the surface. Bring the paint inside the night before your project to keep it at an optimal temperature.
8. Thin the Paint
In extremely cold weather, consider thinning your paint slightly. This can help it flow more smoothly and adhere better to the surface. Be sure to follow the manufacturer’s recommendations for thinning.
9. Use a Slow-Drying Paint
Opt for slow-drying paint in cold weather. Slower-drying paint allows for better leveling and smoothing, reducing the risk of the visible brush or roller marks.
10. Keep an Eye on Dry Times
Be patient with dry times. In winter, paint can take longer to dry. Allow sufficient time between coats to ensure each layer cures properly. Rushing can lead to uneven finishes.
11. Protect Fresh Paint
Once you’ve finished painting, be sure to protect the fresh paint from cold temperatures and moisture. Use plastic sheeting or tarps to shield your work until it’s fully dried.

12. Beware of Frozen Surfaces
If the surface you’re painting is frozen or covered in ice or frost, it’s not suitable for painting. Ensure the surface is completely thawed and dry before you start your project.
13. Dress for the Weather
Stay warm and dry while painting in winter. Dress in layers, wear insulated gloves and invest in good-quality, non-slip footwear to prevent accidents.
14. Ventilate the Area
Proper ventilation is essential when painting indoors in the winter. Ventilate the area to disperse fumes and aid in the drying process.
15. Plan for Shorter Days
Winter days are shorter, so plan your painting project accordingly. You might need to adjust your schedule to make the most of available daylight.
16. Be Prepared for Temperature Changes
During the winter, temperatures can fluctuate dramatically between day and night. These changes can affect the drying and curing of your paint. Be prepared for these variations by choosing the right days to paint and allowing for temperature changes while the paint is drying.
17. Beware of Condensation
Condensation can form on the surface you’ve just painted, especially if there’s a significant temperature difference between the inside and outside of your home. This can lead to water spots and paint defects. Keep your indoor environment well-heated and ventilated to prevent condensation.
18. Use Heaters and Fans
Consider using space heaters and fans to control the temperature and humidity in the areas you’re painting. These tools can help maintain optimal conditions for your paint to dry properly.

Achieve Stunning Results
Winter painting projects can be successful with careful planning and the right approach. By following these tips and tricks, you’ll ensure that your paint job is not only vibrant but also long-lasting. Silver Star Painting understands the unique challenges of winter painting and is here to help you achieve stunning results, no matter the season.We offer residential painting, commercial painting, and exterior painting services in San Diego.
Contact Silver Star Painting today for a free consultation!


